How to Fix Cracks in Asphalt: A Beginner’s Guide
Cracks in asphalt are a common problem for driveway and pavement owners. These tiny cracks can eventually grow into much larger ones as a result of water seepage, extreme weather, and foot traffic if they are not sealed.
Thankfully, if you know what you're doing, fixing asphalt cracks is a do-it-yourself project. To keep your pavement looking good and lasting longer, we will go over the techniques to properly
repair asphalt cracks. Get in touch with professionals like NWS Sealcoating for bigger or more complicated repairs if you want a fix that will last.
Identify the Type of Cracks
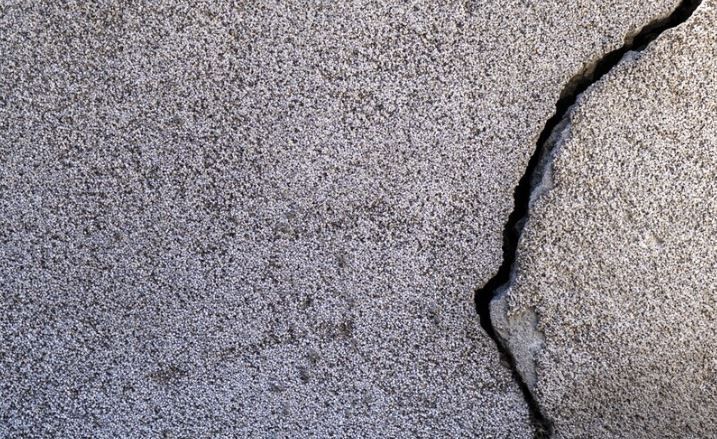
When deciding how to fix a crack, it is crucial to first identify the kind of fracture you are dealing with. Some typical varieties of asphalt cracks are as follows:
- Small cracks: Small or thin cracks, generally at the surface, that can be filled with basic fillers are known as hairline cracks.
- Alligator cracks: When you see cracks that look like alligator skin, it's a sign of structural damage that needs more extensive repair.
- Pavement edge cracks: Pavement edge cracks can be caused by erosion or a lack of support.
Collect Necessary Equipment and Supplies
Get the following items and tools ready before beginning the repair:
- Asphalt repair material or crack filler
- Putty knife or trowel
- Sweep or wiring brush
- A pressure washer is optional but highly recommended for thorough cleaning.
- Apply a sealcoat for extra protection.
You can easily find these tools at any home improvement store, so you can do this project on your own.
Fix the Chip Thoroughly
Start by cleaning the crack completely to ensure the filler sticks effectively. Use a wire brush to remove any dirt, debris, or asphalt that may be loose. Remove any plants or weeds that have settled into the crevice and sweep the area thoroughly. To get really grimy areas thoroughly cleaned, you might want to think about renting a pressure washer. Because filler won't adhere correctly if it's wet, wait until the area is totally dry before proceeding.
Pick the Appropriate Filler
It is very important to choose the right crack filler in order to fix the damage. These are a few typical choices:
- Cold-Pour Crack Fillers: Perfect for novices, these fillers are easy to use and work well for small, shallow cracks.
- Crack Fillers for Hot Pour: Although hot-pour fillers are best left to experts and require heating, they are still manageable with the correct tools and are more long-lasting and effective for bigger cracks.
- Asphalt Patch Mix: This versatile material can be used to repair large cracks or locations where the asphalt has crumbled slightly.
Brands and suppliers that focus on asphalt repair goods are good places to explore for high-quality materials. You may increase the repair's durability and longevity with the help of high-quality solutions offered by companies like NWS Sealcoating.
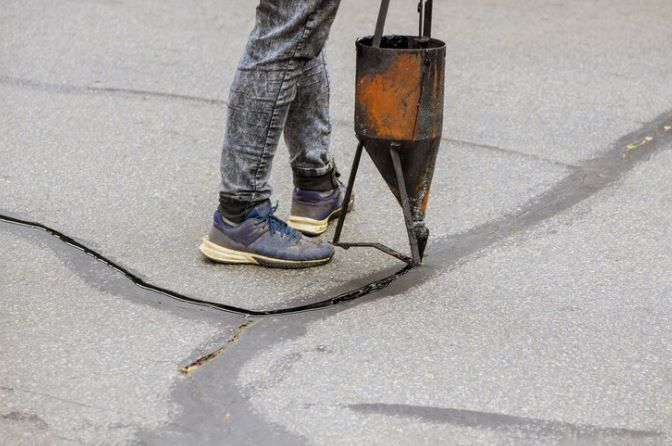
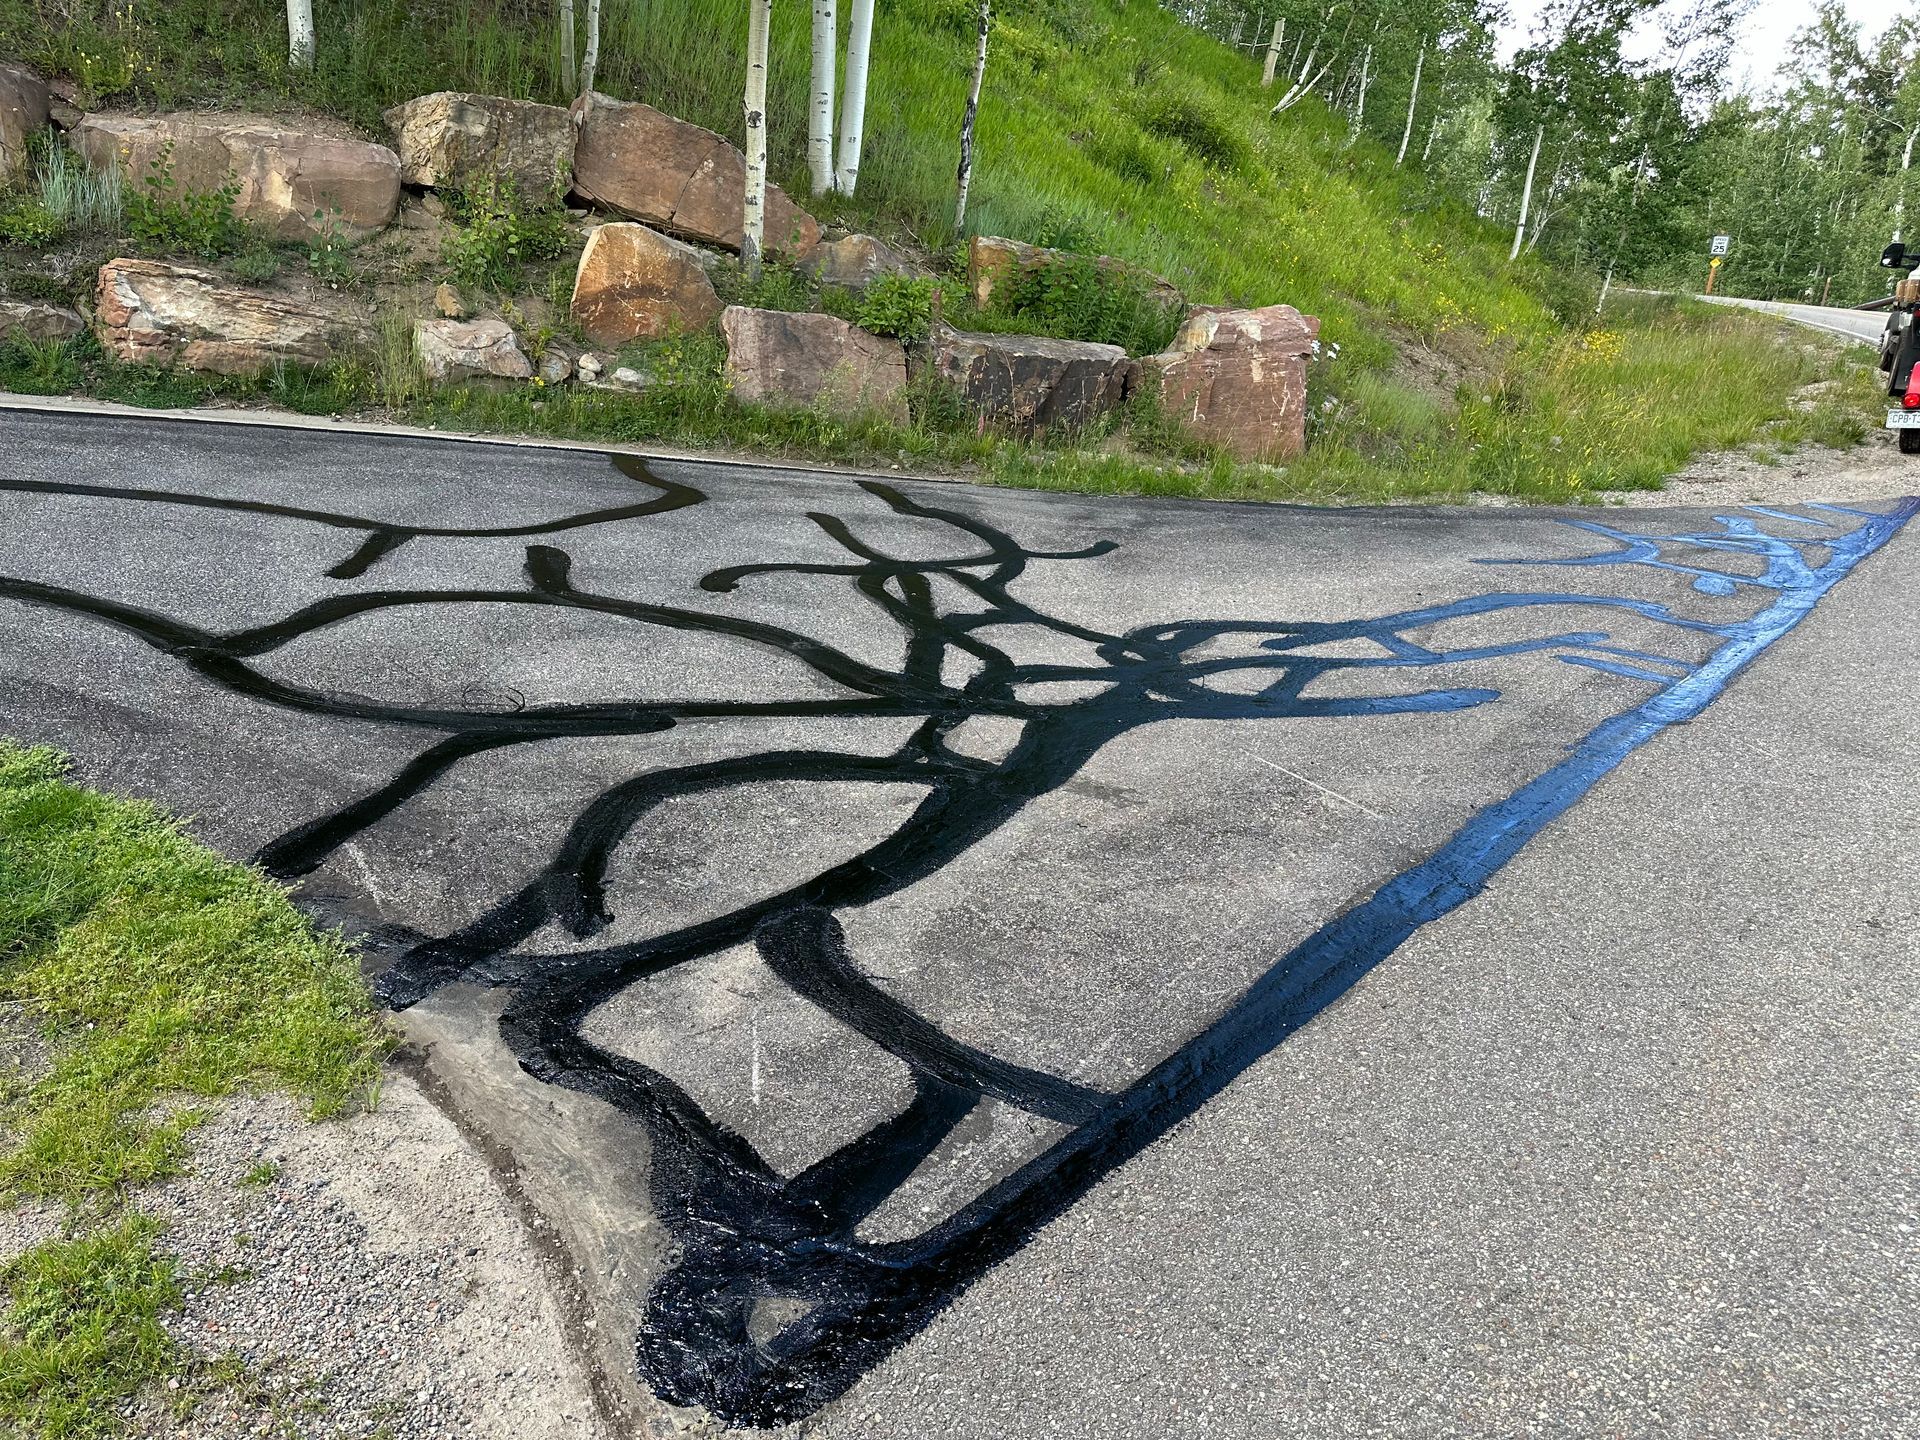
Seal the Fissure
Put the crack filler on once you've prepped the area:
- Cold-Pour Method: Just pour the filler into the crack, making sure it's slightly higher than the surface level. To make it smooth, use a trowel or a putty knife.
- Hot-Pour Method: Carefully pour the heated filler into the crack after following the manufacturer's directions. A more equal application is necessary with this filler to avoid ridges or uneven surfaces, which calls for more precision.
In all cases, you need to make sure the crack filler is even with the pavement around it.
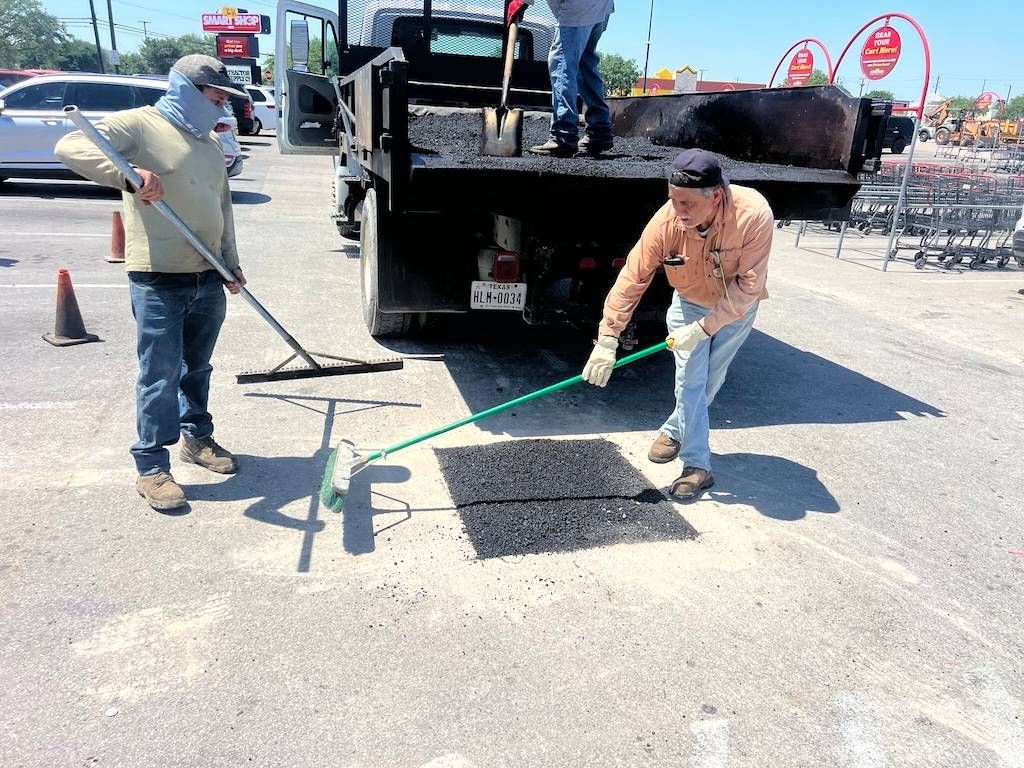
Bring Everything Together and Smooth It Out
To make the patch mix in with the rest of the asphalt, compact and smooth the surface after applying the filler. Particularly when dealing with repair mix for larger cracks, tamp down and level the filler with a trowel or other equipment. To avoid cracking or the filler separating from the asphalt too soon, compacting is essential for a seamless appearance.
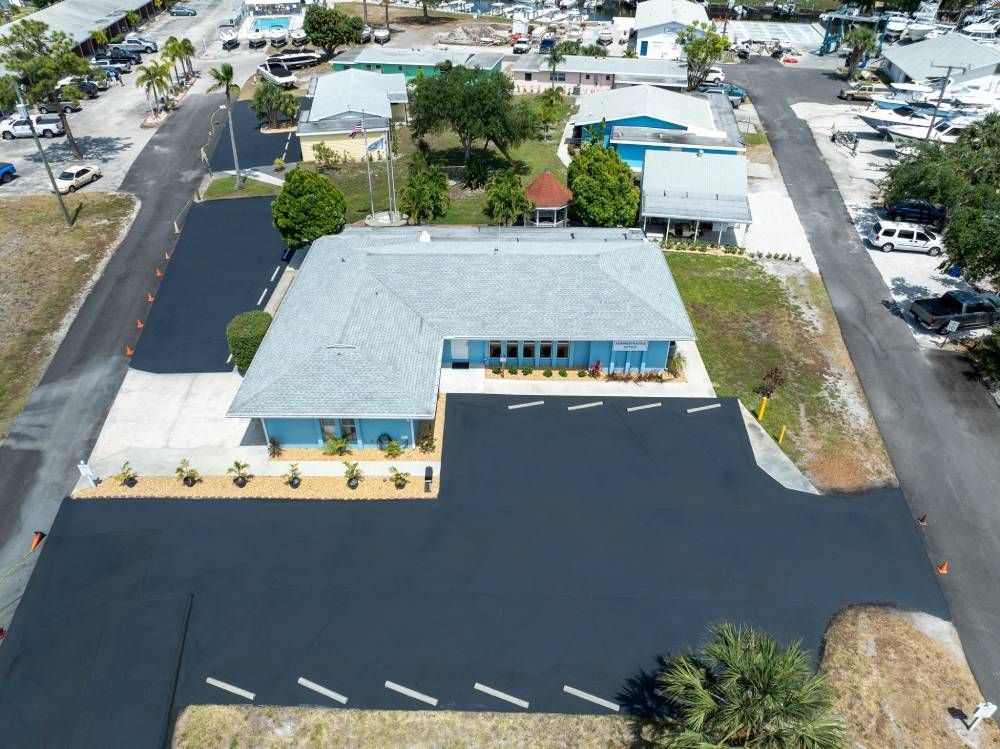
Cover with a Sealant
Sealcoating is an optional but strongly advised step for protecting the repaired crack and the asphalt around it. Sealed surfaces are more resistant to wear and tear, water intrusion, and ultraviolet radiation. If you want your driveway or pavement to look uniform, sealcoat it all at once with a squeegee or brush. Before applying a sealcoat, wait at least one to two days after crack filling to give the filler time to set.
When to Get Help from Experts
While it may be possible to fix minor cracks on your own, larger problems or structural difficulties will necessitate the assistance of a professional. Talk to a professional asphalt repair service if you find plenty of fissures, spots with alligator cracking, or huge potholes.
Experts like NWS Sealcoating have the equipment, training, and supplies to fix even the most intricate driveways and pavements, keeping them in good working order and looking great at the same time.
Fixing asphalt cracks isn't as difficult as it may seem. Depending on the type of cracks, you may fix your driveway and make it seem like new again by obtaining the necessary supplies and following a few simple steps.
Avoid sloppy upkeep and go for high-quality materials; sealcoating is an option for extra protection. Asphalt surfaces may last longer and look better with regular maintenance and prompt repairs; if you need aid with bigger or more complicated repairs, businesses like
NWS Sealcoating are here to help.